add-circle-bold add-circle add-square add alarm-bell-1 alert-diamond analytics-pie-2 archive archive arrow-down-1 arrow-down-2 arrow-left-1 arrow-right-1 arrow-up-1 attachment-1 bin-paper-1 book-star button-record check-1 check-circle-1 close close-quote close cog-1 cog common-file-stack copy-paste credit-card-1 diagram-fall-down disable time-clock-midnight download-thick-bottom drawer-send envelope-letter envelope-letter expand-6 expand-6 file-code filter-1 floppy-disk flying-insect-honey folder-file-1 headphones-customer-support hierarchy-9 hyperlink-2 information-circle keyboard-arrow-down keyboard-arrow-up layout-module-1 list-bullets lock-2 lock-unlock-1 love-it messages-bubble-square move-to-top multiple-circle multiple-neutral-1 multiple-users-1 navigation-menu-horizontal navigation-menu network-browser open-quote pencil-1 pencil-write pencil-1 print-text rating-star rating-star remove-circle remove-square-1 search send-email-1 shield-warning single-neutral-actions single-neutral smiley-sad-1 smiley-unhappy smiley-indifferent smiley-smile-1_1 smiley-happy smiley-sad-1 smiley-unhappy smiley-indifferent smiley-happy smiley-thrilled social-media-twitter synchronize-arrows-1 tags-double ticket-1 ticket-1 time-clock-circle undo view-1 view-off view wench

iOS 1O: Outlook for iOS (IMAP) - Rackspace Email Setup

REPLACE "[email protected]" with YOUR EMAIL ADDRESS


  1. Download the Outlook for iOS app from the App Store 
    If you're reading this on your mobile device, tap below to get taken straight to the App Store page for the app. 

    Download Outlook for iOS here 

    Note: This guide also works for the iPad version, as the steps are the same.

  2. Once it downloads; open it, and tap the blue Get Started button.

  3. Enter your email address: (YOUR EMAIL ADDRESS)

  4. Tap Add Account
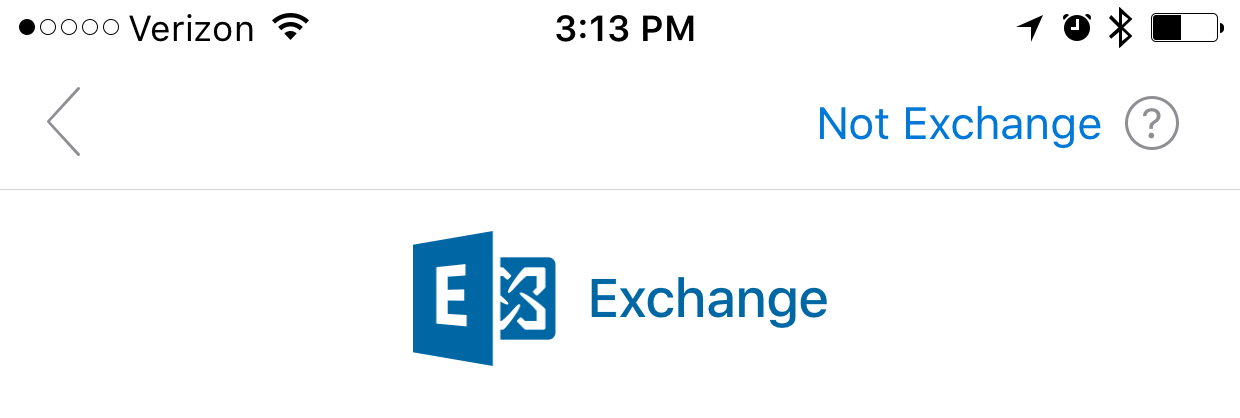
  5. The app by default will use Exchange as the account type, we need to change it. Tap Not Exchange on the top right.
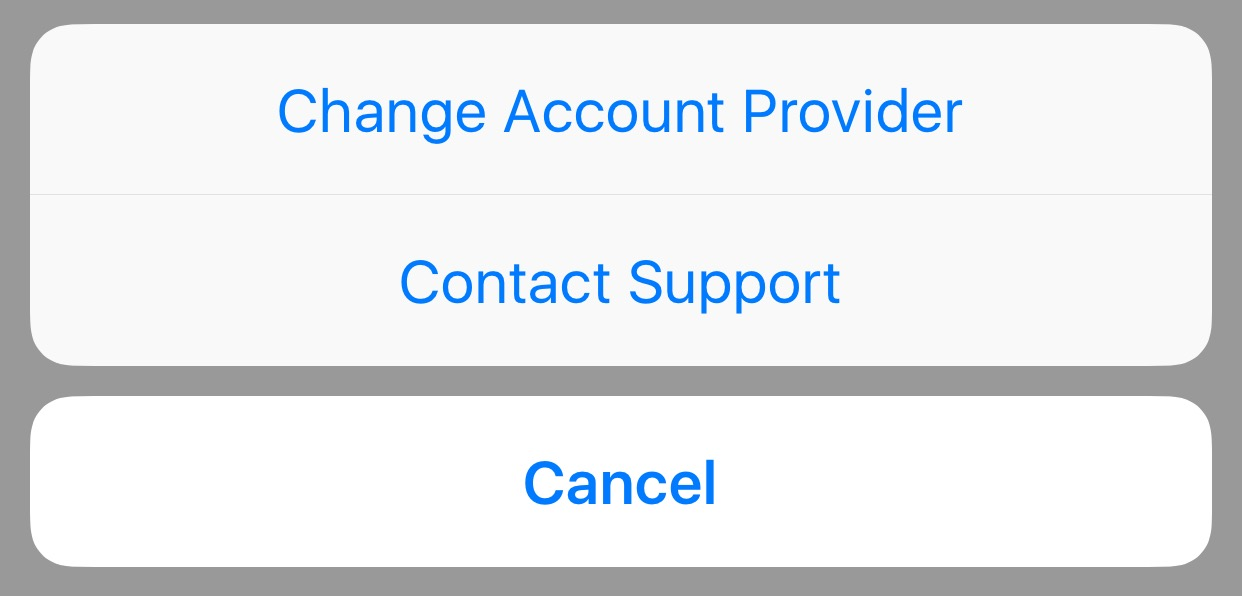
  6. Then tap Change Account Provider
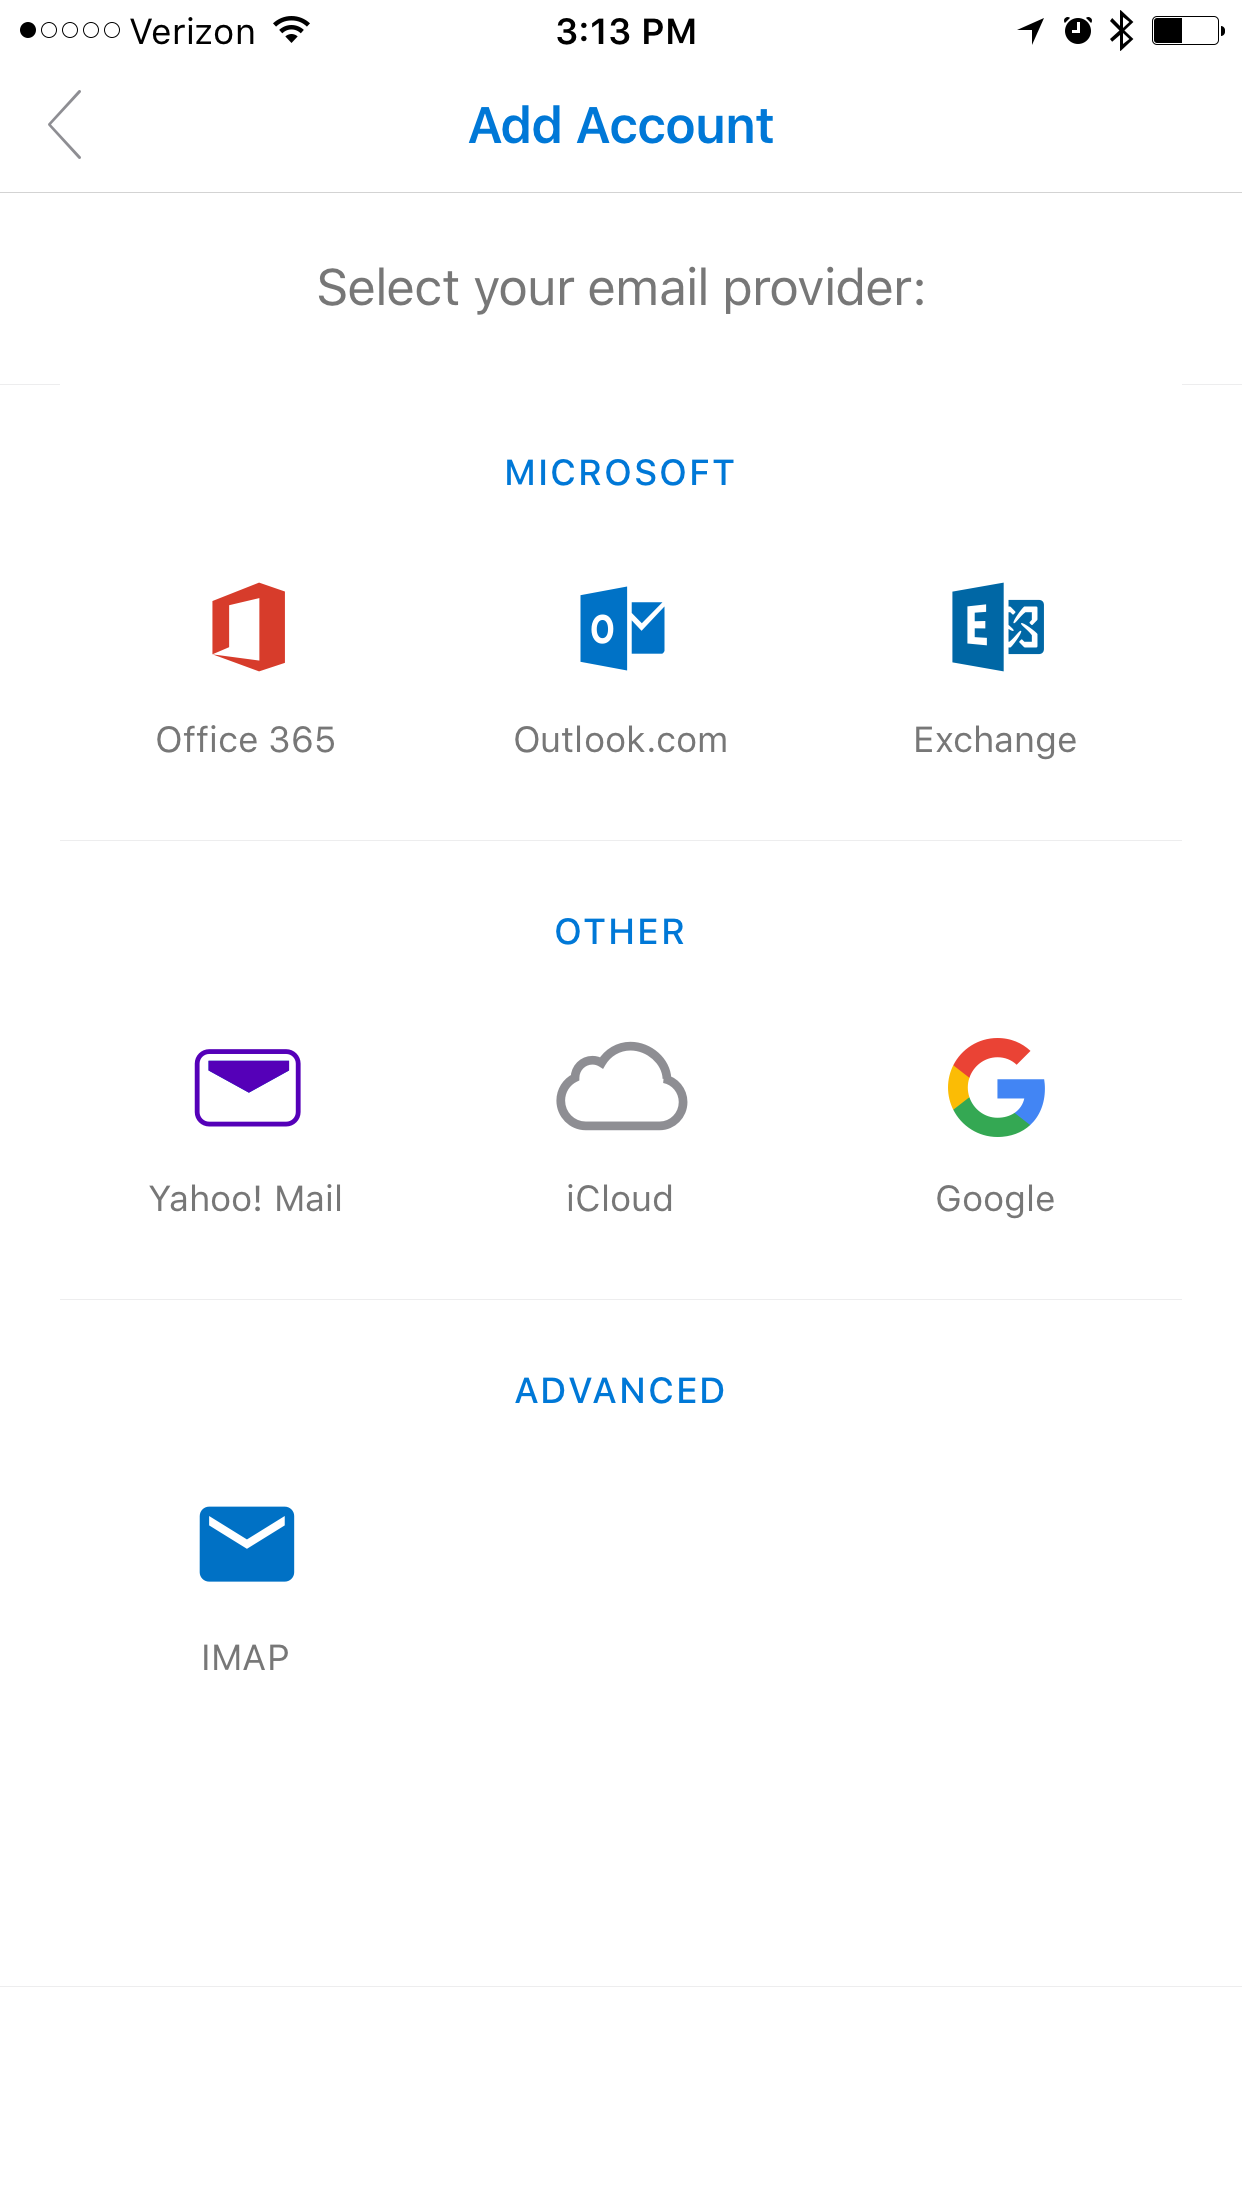
  7. Select IMAP

  8. Enter your mailbox password and a description of the account 
    Then enable the Advanced Settings slider

  9. Enter the following settings on the screen, as shown below: 

    Email: (YOUR EMAIL ADDRESS)
    Display Name: Your name 
    Description: something to help you distinguish the account 

    IMAP Incoming Server: secure.emailsrvr.com 
    Username: (YOUR EMAIL ADDRESS)
    Password: Your mailbox password 

    SMTP Outgoing Server: secure.emailsrvr.com 
    Username: (YOUR EMAIL ADDRESS)
    Password: Your mailbox password 

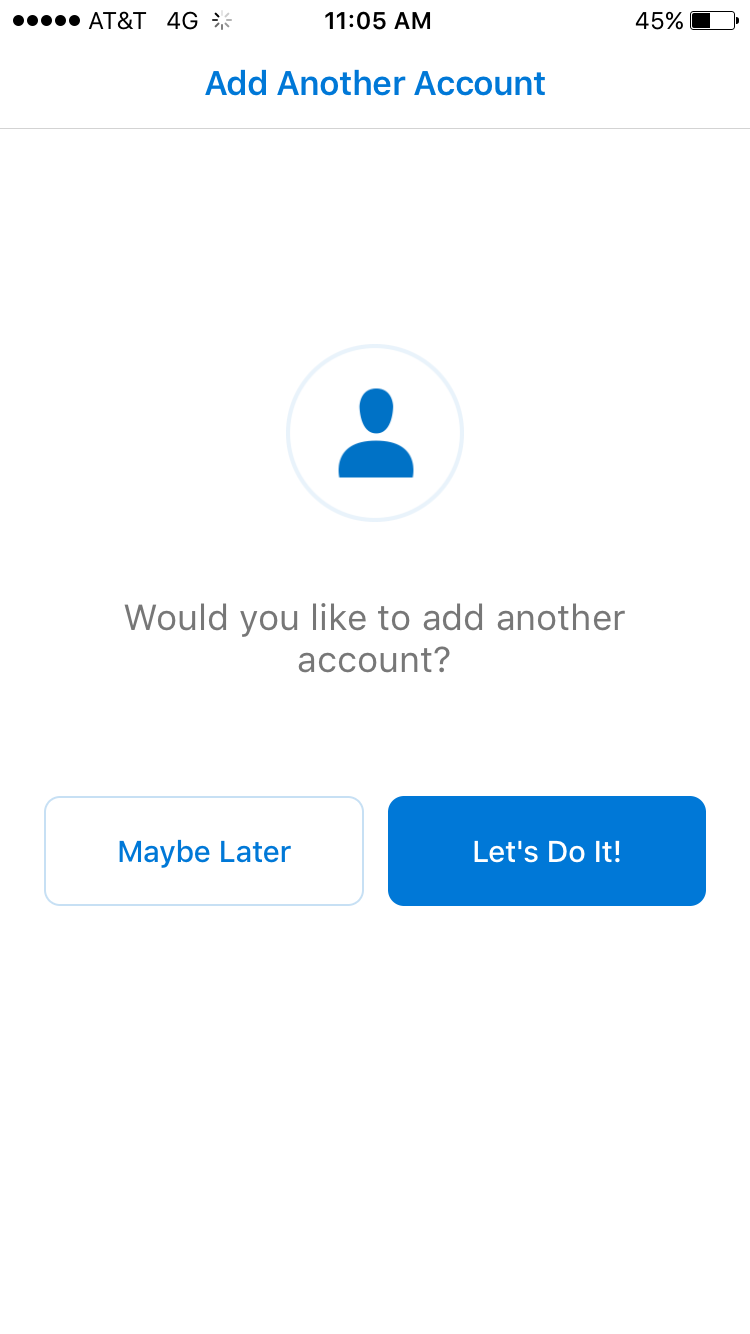
    Once you're done, click the checkbox on the top right corner

  10. Tap Maybe Later to skip adding another account.

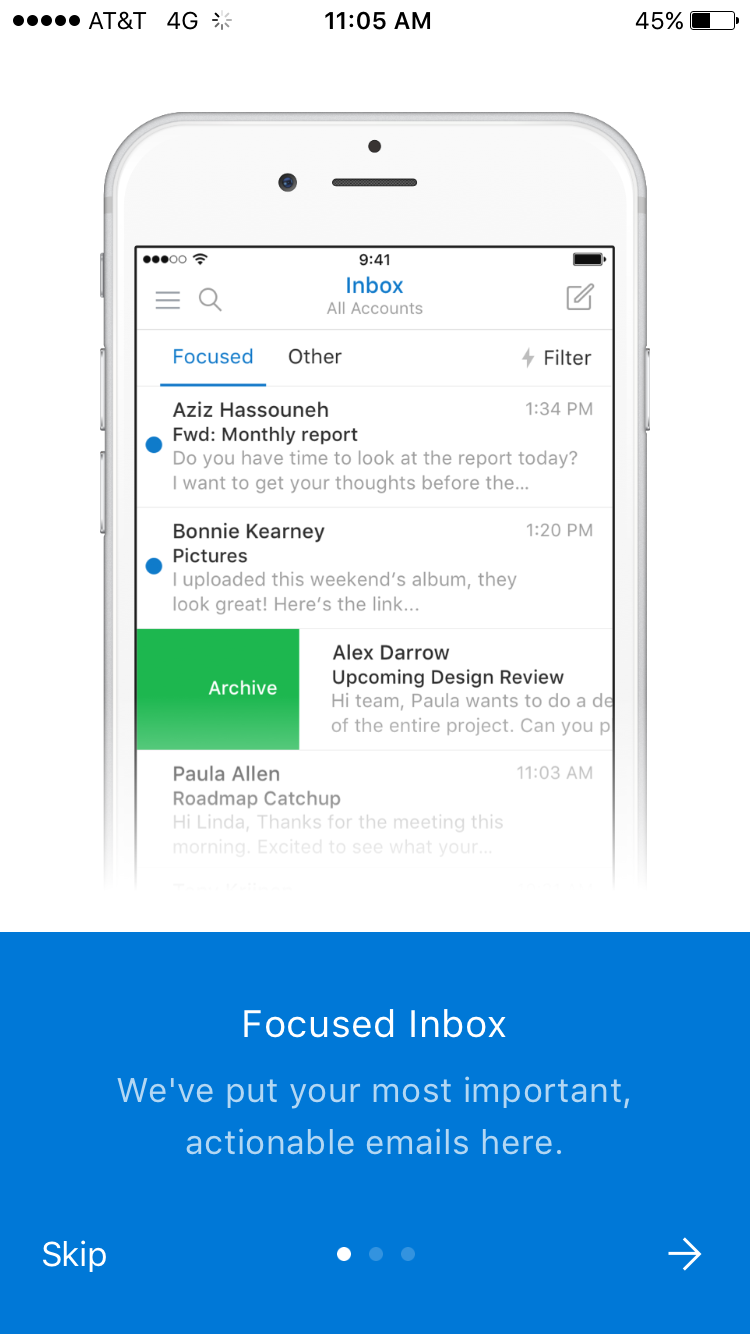
  11. You may go through the app tutorial by clicking on the arrow on the bottom right, or tap Skip to skip it.

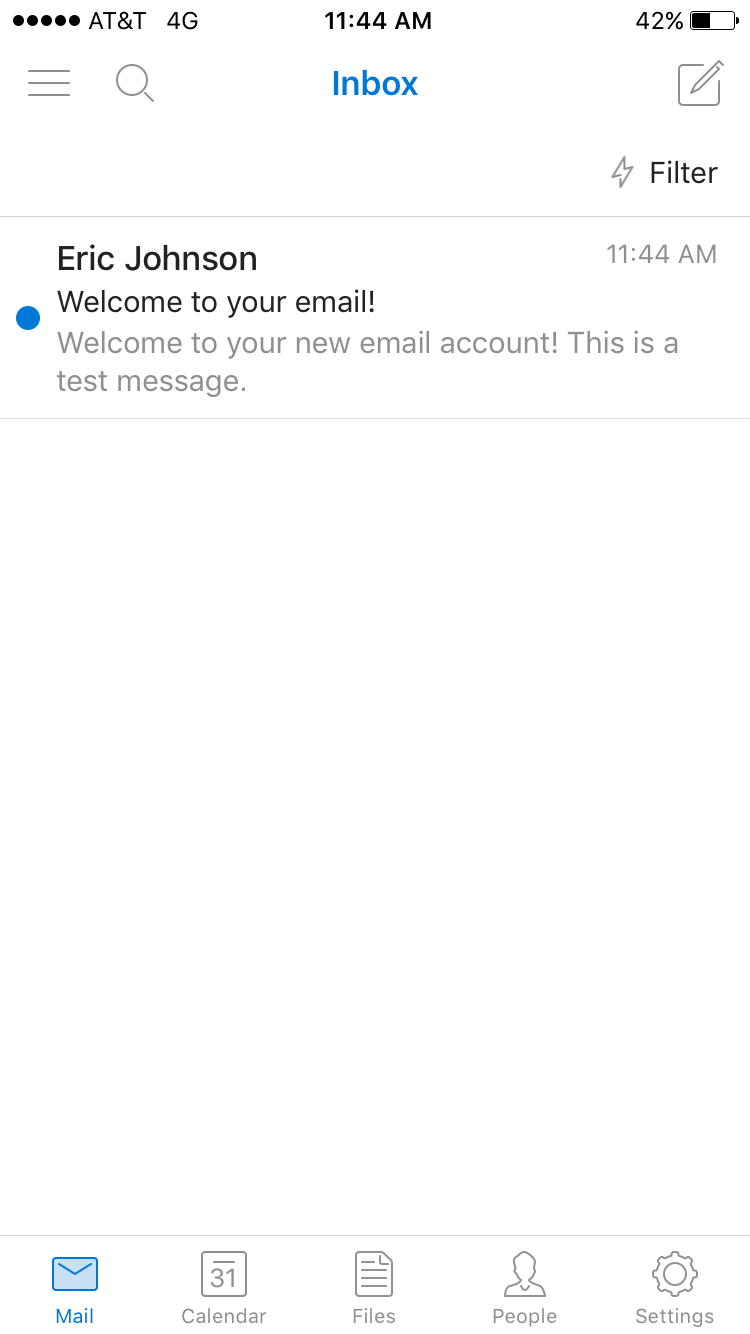
  12. Once you see the Inbox of your mailbox, you are all set! It may take a few minutes to download mail depending on a variety of factors