



- Download the Outlook for iOS app from the App Store
If you're reading this on your mobile device, tap below to get taken straight to the App Store page for the app.
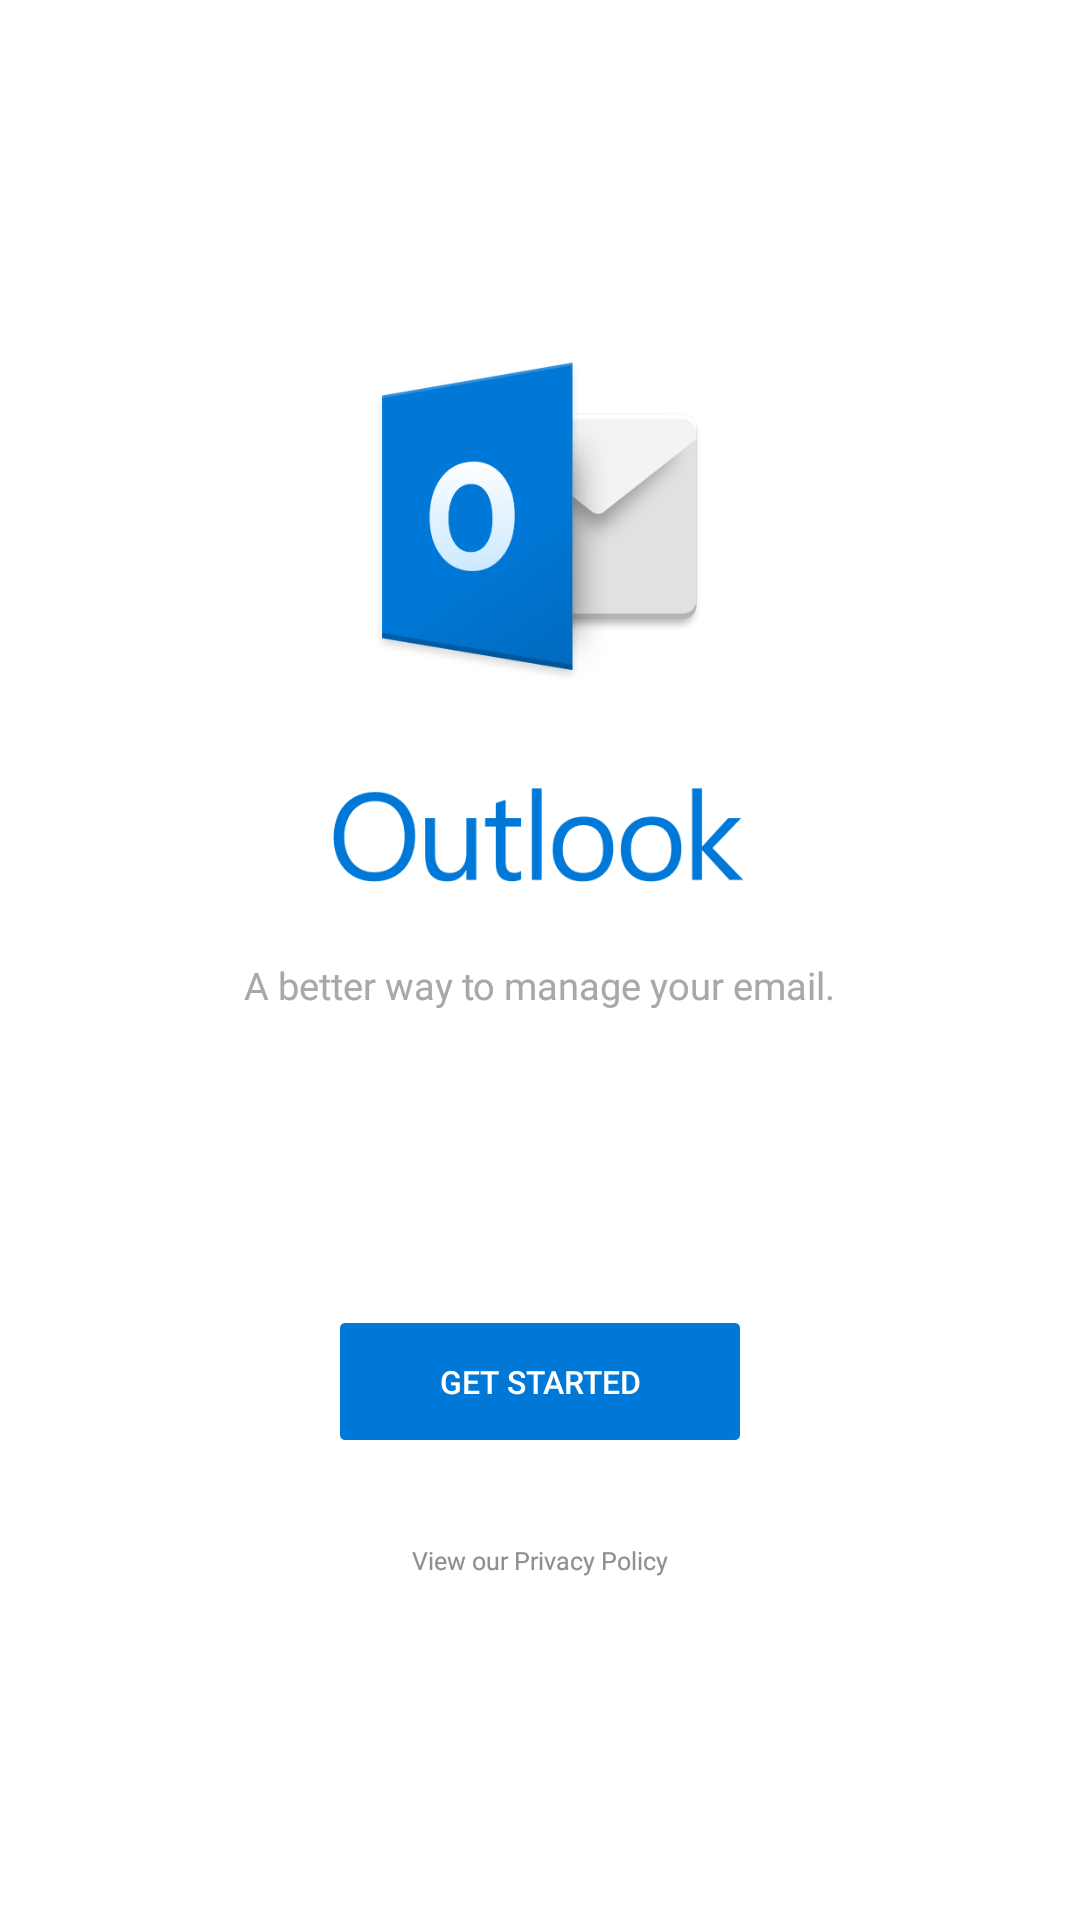
Note: This guide also works for the iPad version, as the steps are the same. - Once it downloads; open it, and tap the blue Get Started button.
- Enter your email address: (YOUR EMAIL ADDRESS)
- Tap Add Account
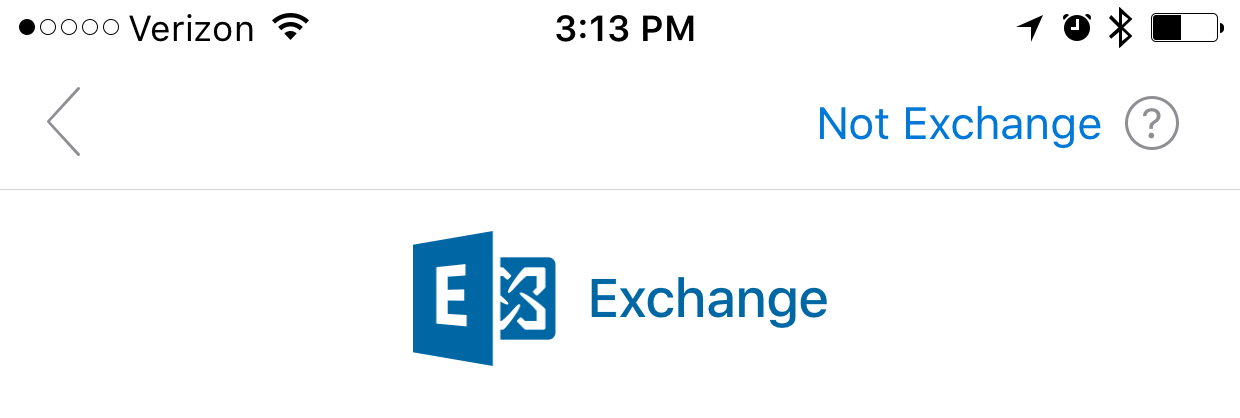
- The app by default will use Exchange as the account type, we need to change it. Tap Not Exchange on the top right.
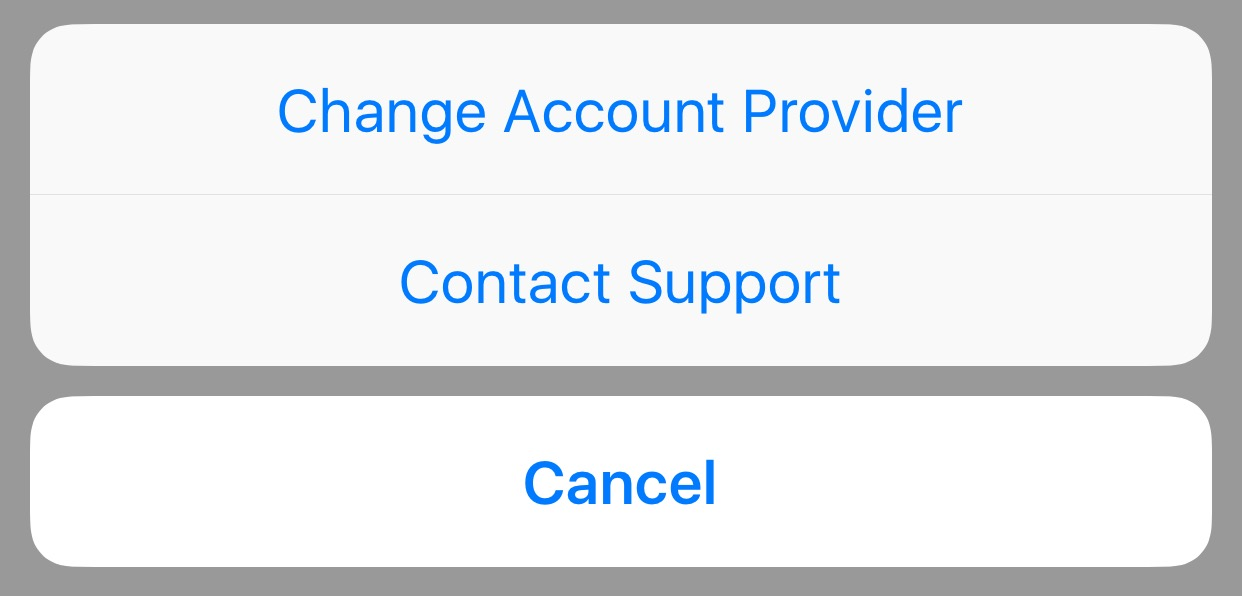
- Then tap Change Account Provider
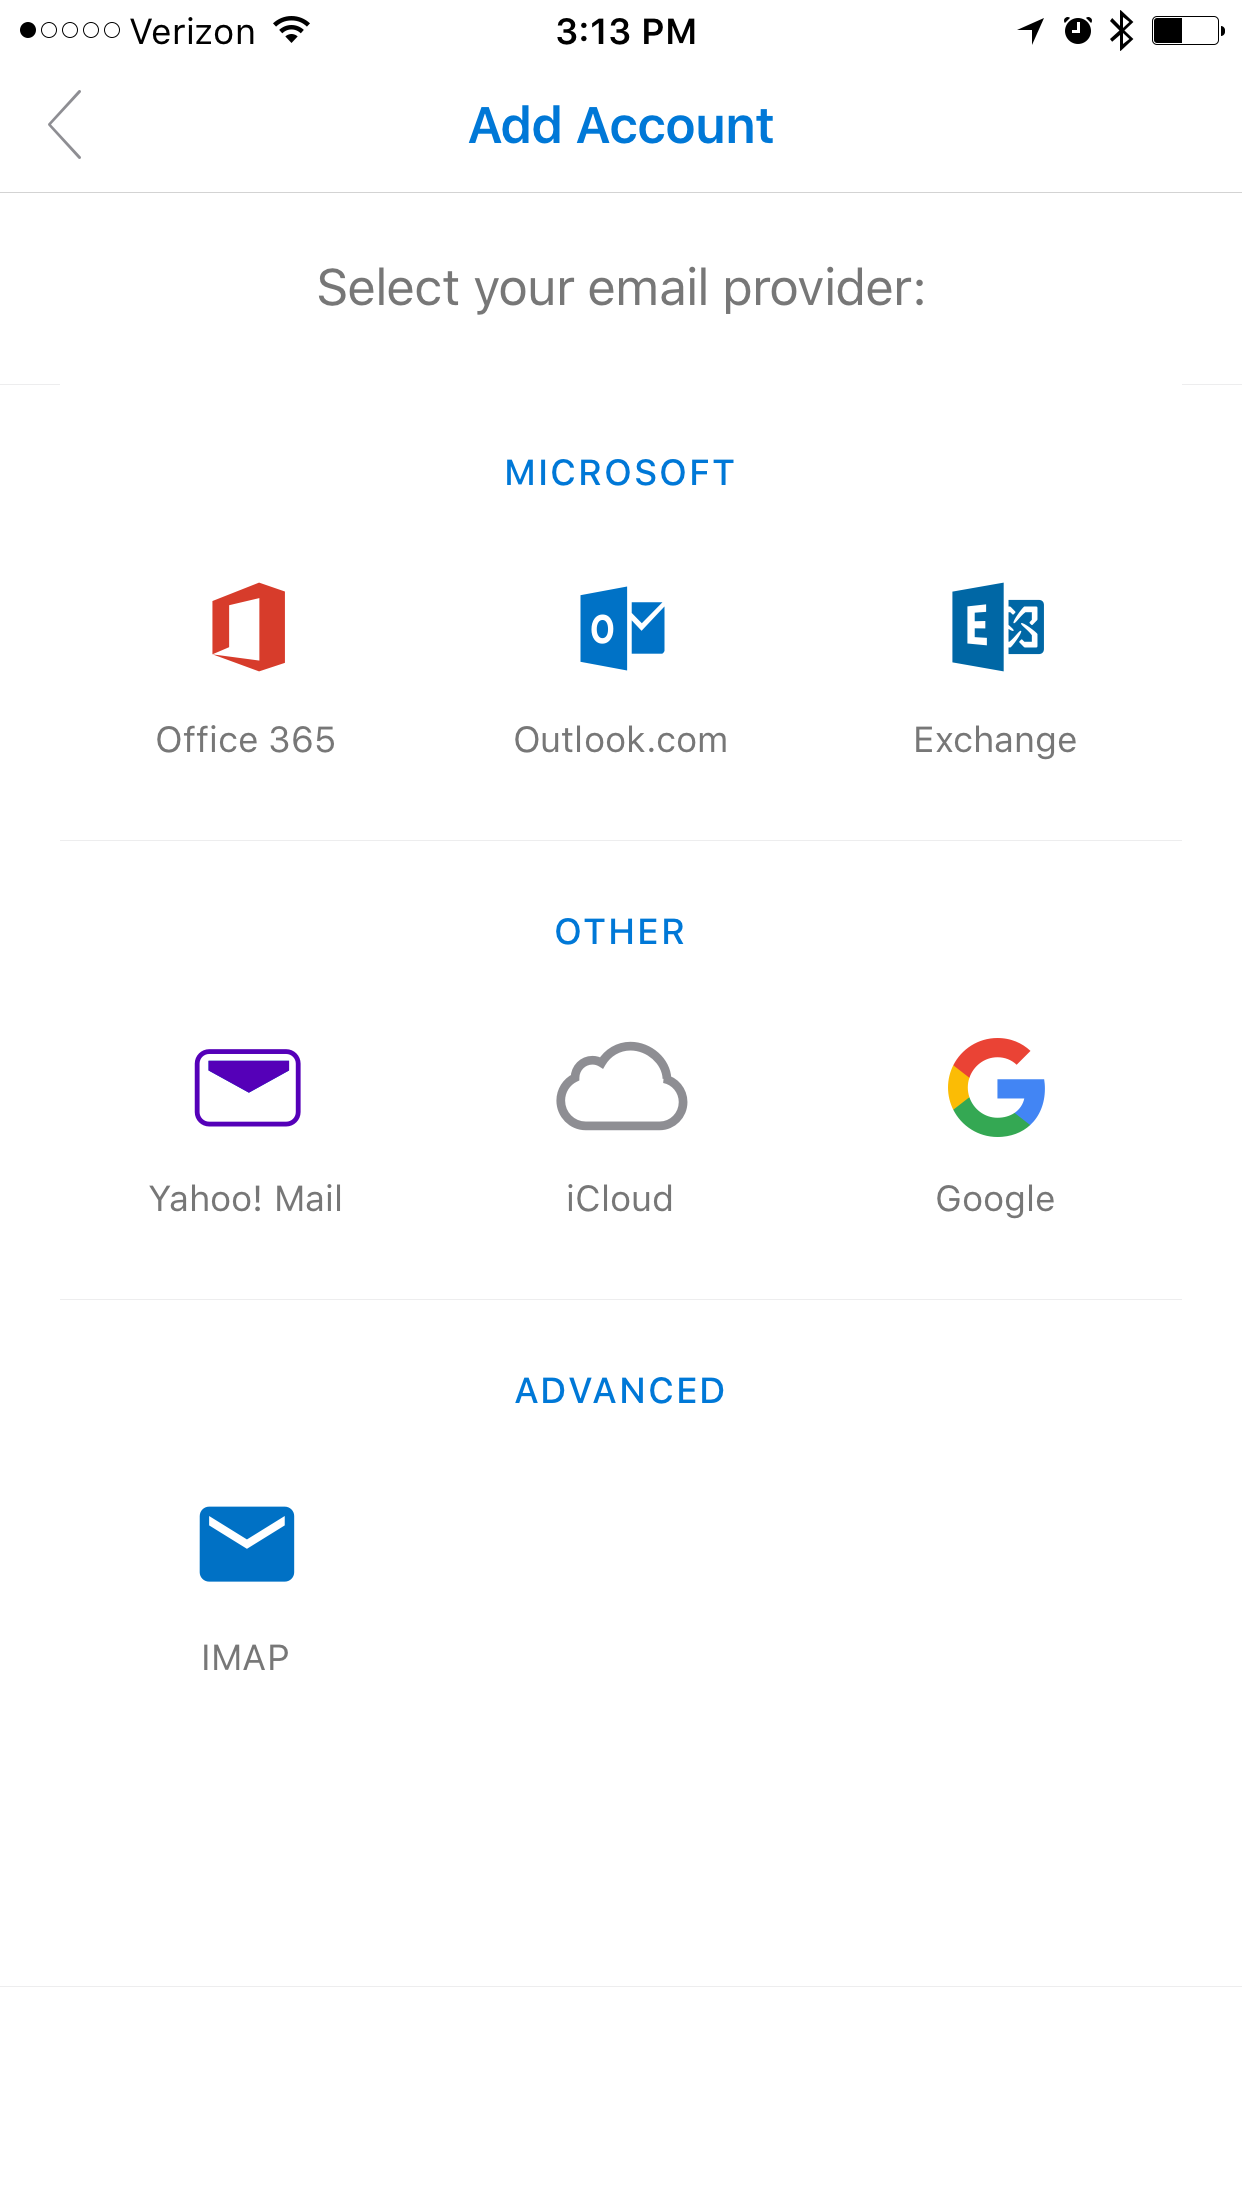
- Select IMAP
- Enter your mailbox password and a description of the account
Then enable the Advanced Settings slider - Enter the following settings on the screen, as shown below:
Email:(YOUR EMAIL ADDRESS)
Display Name: Your name
Description: something to help you distinguish the account
IMAP Incoming Server: secure.emailsrvr.com
Username: (YOUR EMAIL ADDRESS)
Password: Your mailbox password
SMTP Outgoing Server: secure.emailsrvr.com
Username: (YOUR EMAIL ADDRESS)
Password: Your mailbox password
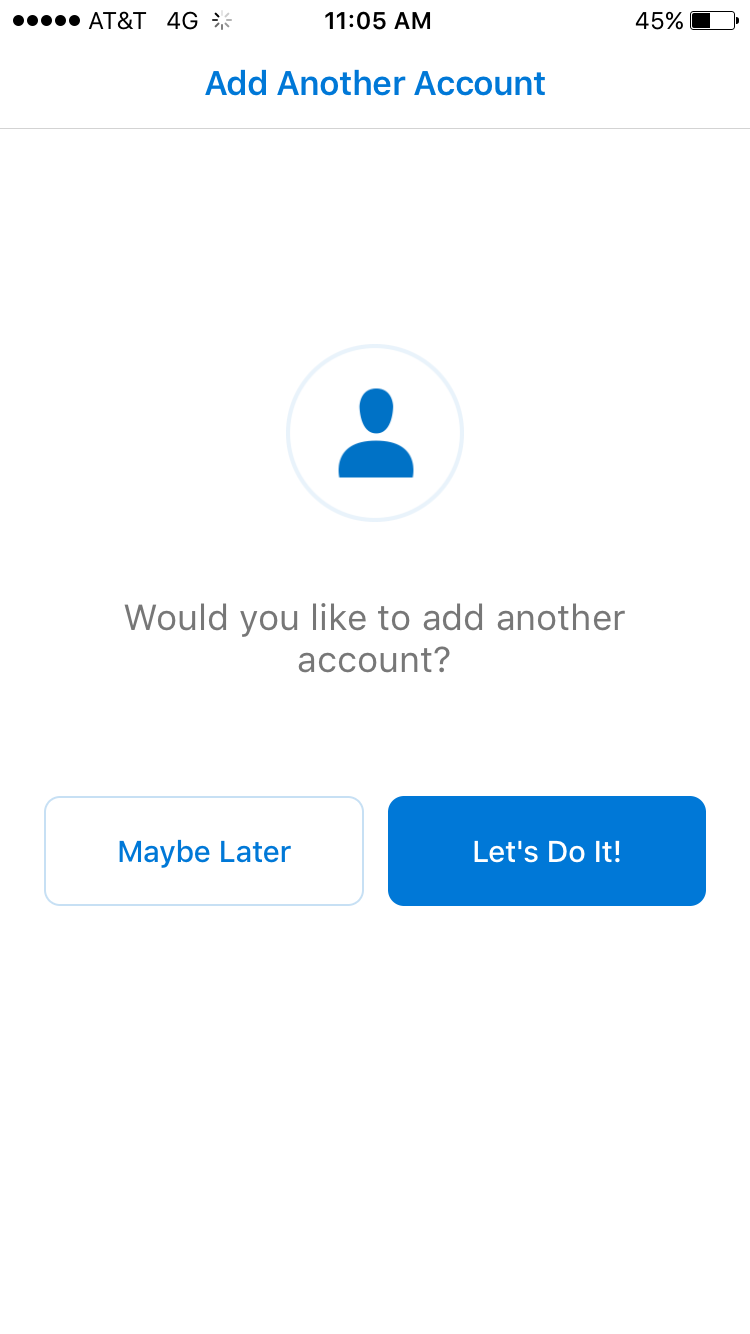
Once you're done, click the checkbox on the top right corner - Tap Maybe Later to skip adding another account.
- You may go through the app tutorial by clicking on the arrow on the bottom right, or tap Skip to skip it.
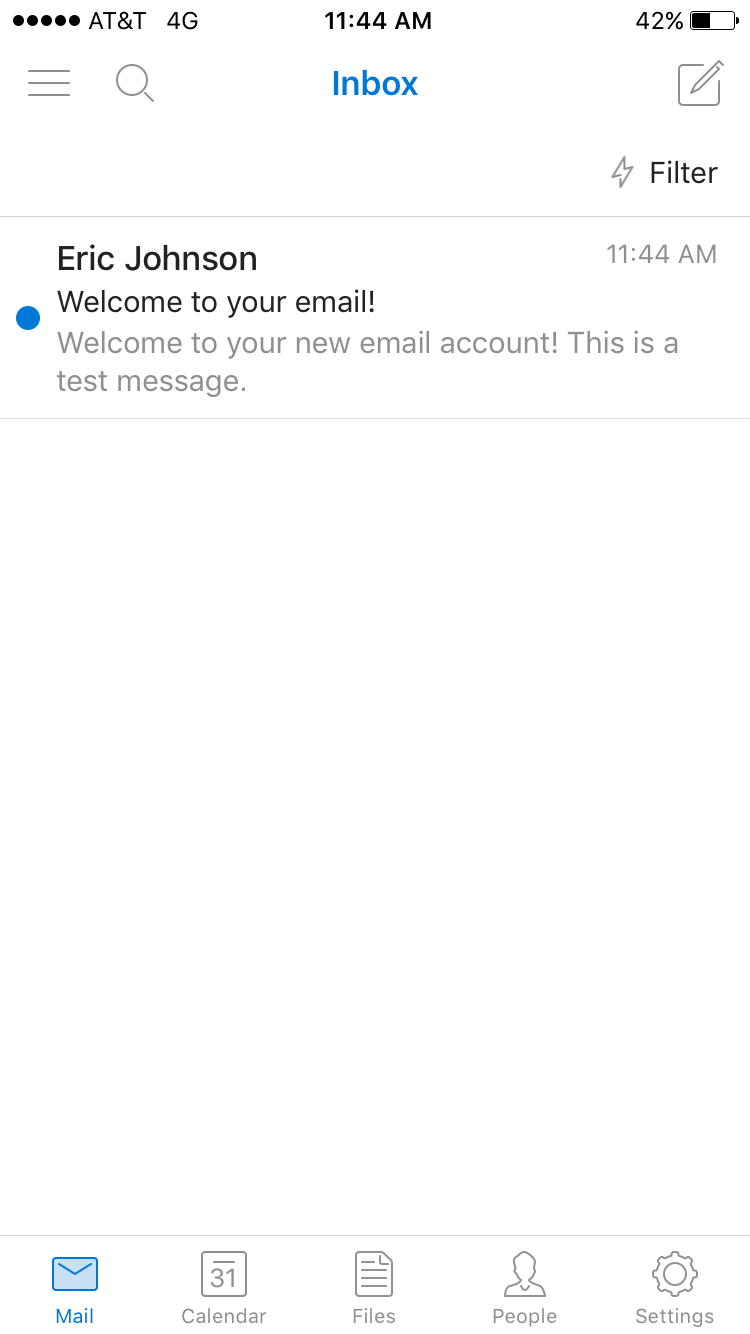
- Once you see the Inbox of your mailbox, you are all set! It may take a few minutes to download mail depending on a variety of factors
Don't forget about your other devices! Click here to set up a computer, tablet, or phone.