add-circle-bold add-circle add-square add alarm-bell-1 alert-diamond analytics-pie-2 archive archive arrow-down-1 arrow-down-2 arrow-left-1 arrow-right-1 arrow-up-1 attachment-1 bin-paper-1 book-star button-record check-1 check-circle-1 close close-quote close cog-1 cog common-file-stack copy-paste credit-card-1 diagram-fall-down disable time-clock-midnight download-thick-bottom drawer-send envelope-letter envelope-letter expand-6 expand-6 file-code filter-1 floppy-disk flying-insect-honey folder-file-1 headphones-customer-support hierarchy-9 hyperlink-2 information-circle keyboard-arrow-down keyboard-arrow-up layout-module-1 list-bullets lock-2 lock-unlock-1 love-it messages-bubble-square move-to-top multiple-circle multiple-neutral-1 multiple-users-1 navigation-menu-horizontal navigation-menu network-browser open-quote pencil-1 pencil-write pencil-1 print-text rating-star rating-star remove-circle remove-square-1 search send-email-1 shield-warning single-neutral-actions single-neutral smiley-sad-1 smiley-unhappy smiley-indifferent smiley-smile-1_1 smiley-happy smiley-sad-1 smiley-unhappy smiley-indifferent smiley-happy smiley-thrilled social-media-twitter synchronize-arrows-1 tags-double ticket-1 ticket-1 time-clock-circle undo view-1 view-off view wench

macOS: Outlook 2016 (IMAP) - Rackspace Email Setup

This article will assist you with setting up Outlook 2016 for Mac with your Hosted Mailbox.
REPLACE "[email protected]" with YOUR EMAIL ADDRESS

NOTE: If you do not have any accounts setup on Outlook 2016 for Mac, skip to Step 5


  1. Launch Outlook 2016 for Mac
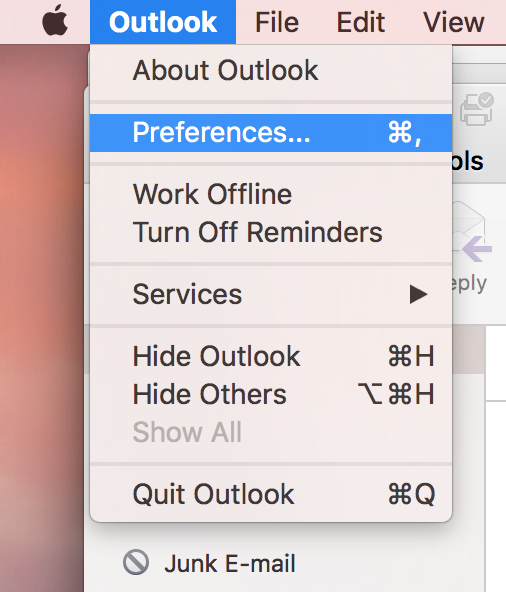
  2. Select Preferences from the Outlook menu.
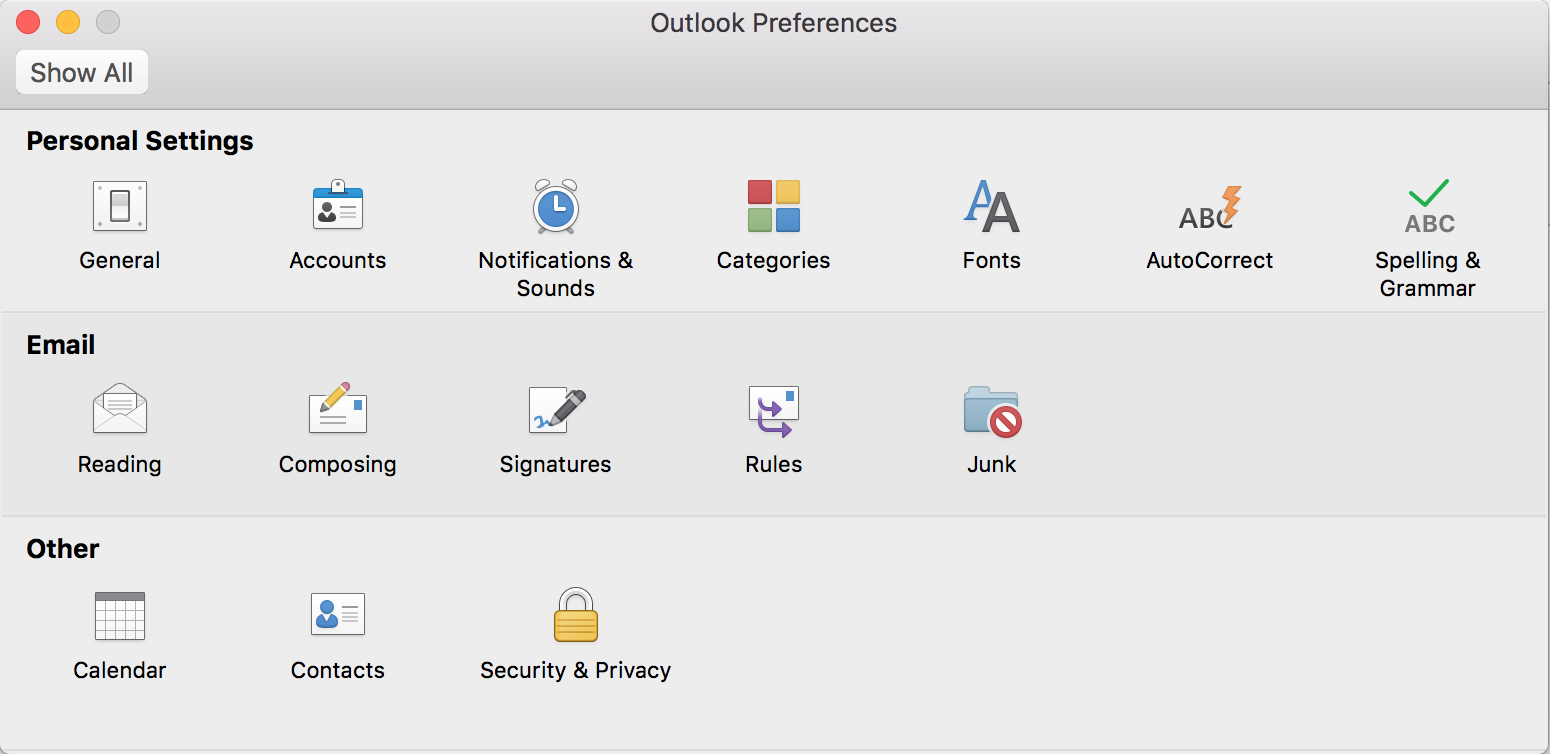
  3. Select Accounts
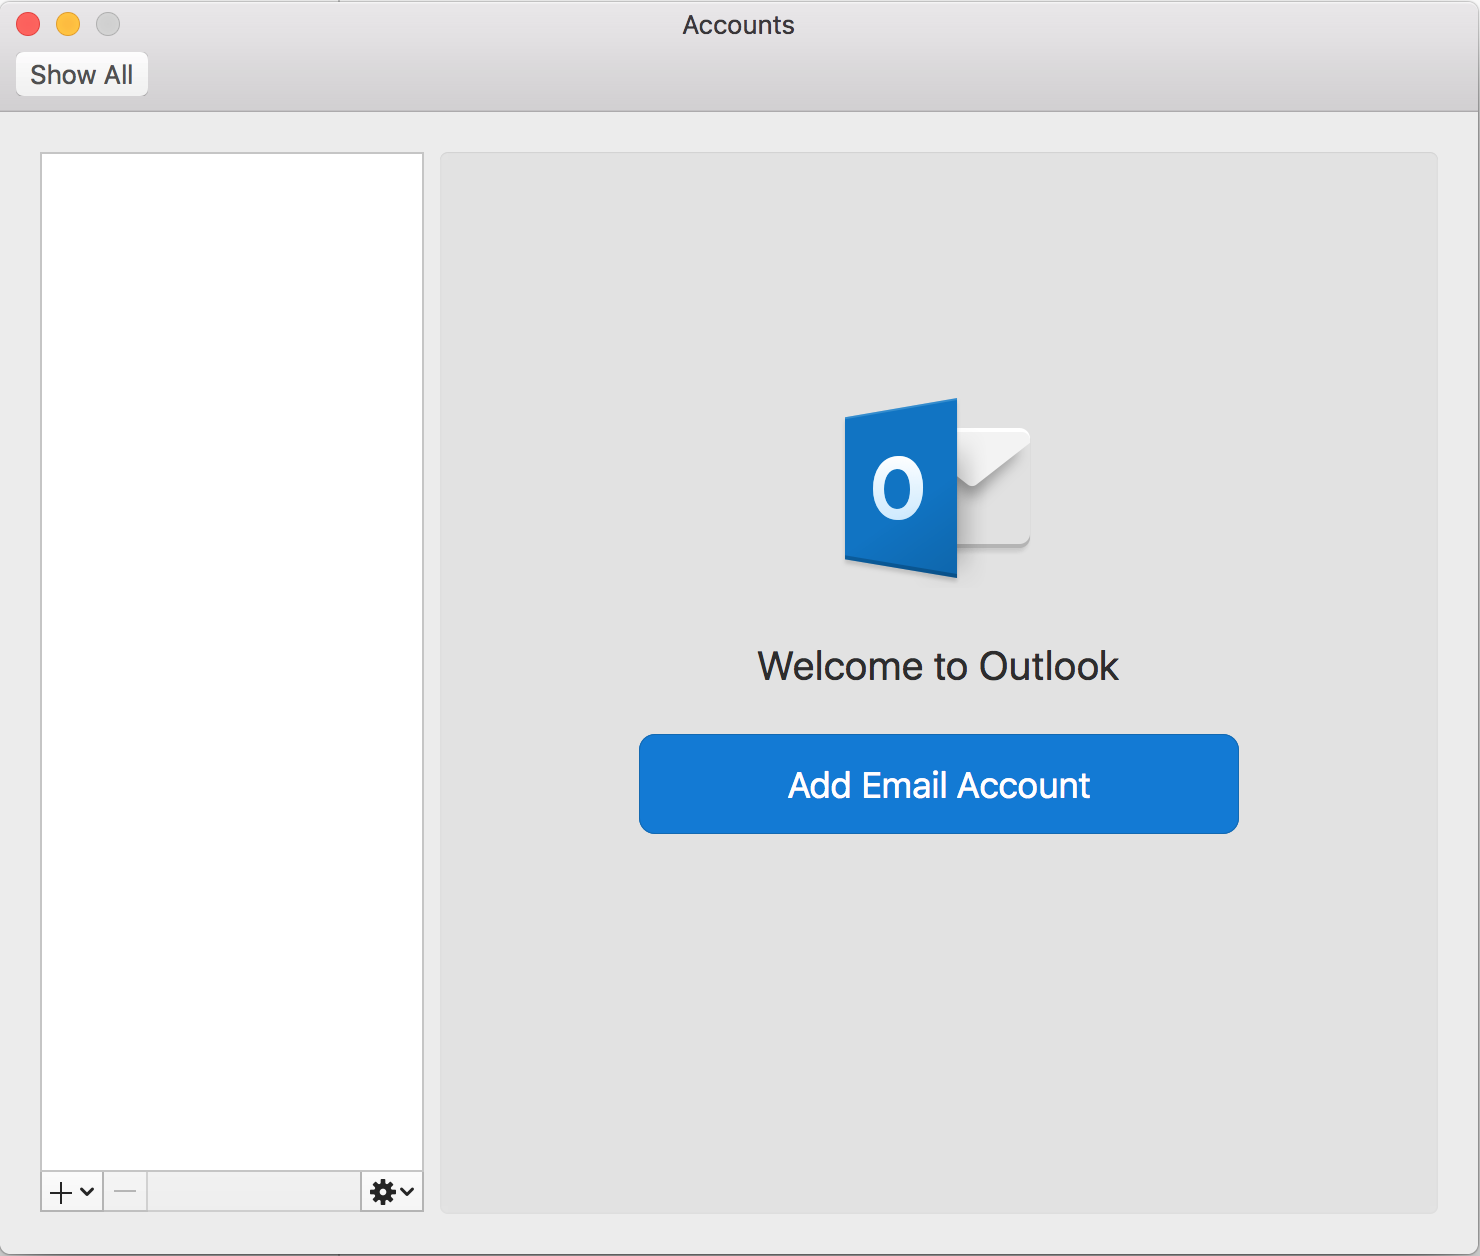
  4. Select Add Email Account
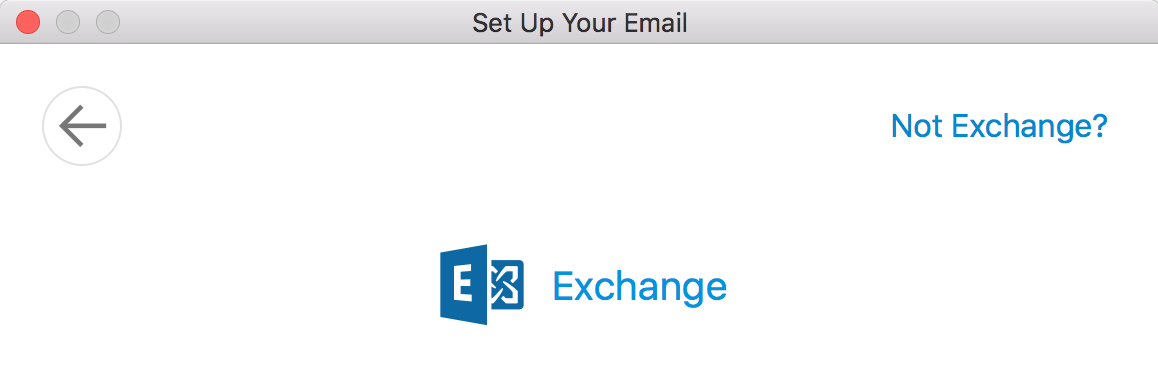
  5. Enter your email address: (YOUR EMAIL ADDRESS)
  6. Outlook will sometimes automatically select Exchange as the account type. Click on Not Exchange on the top right corner to switch the account type

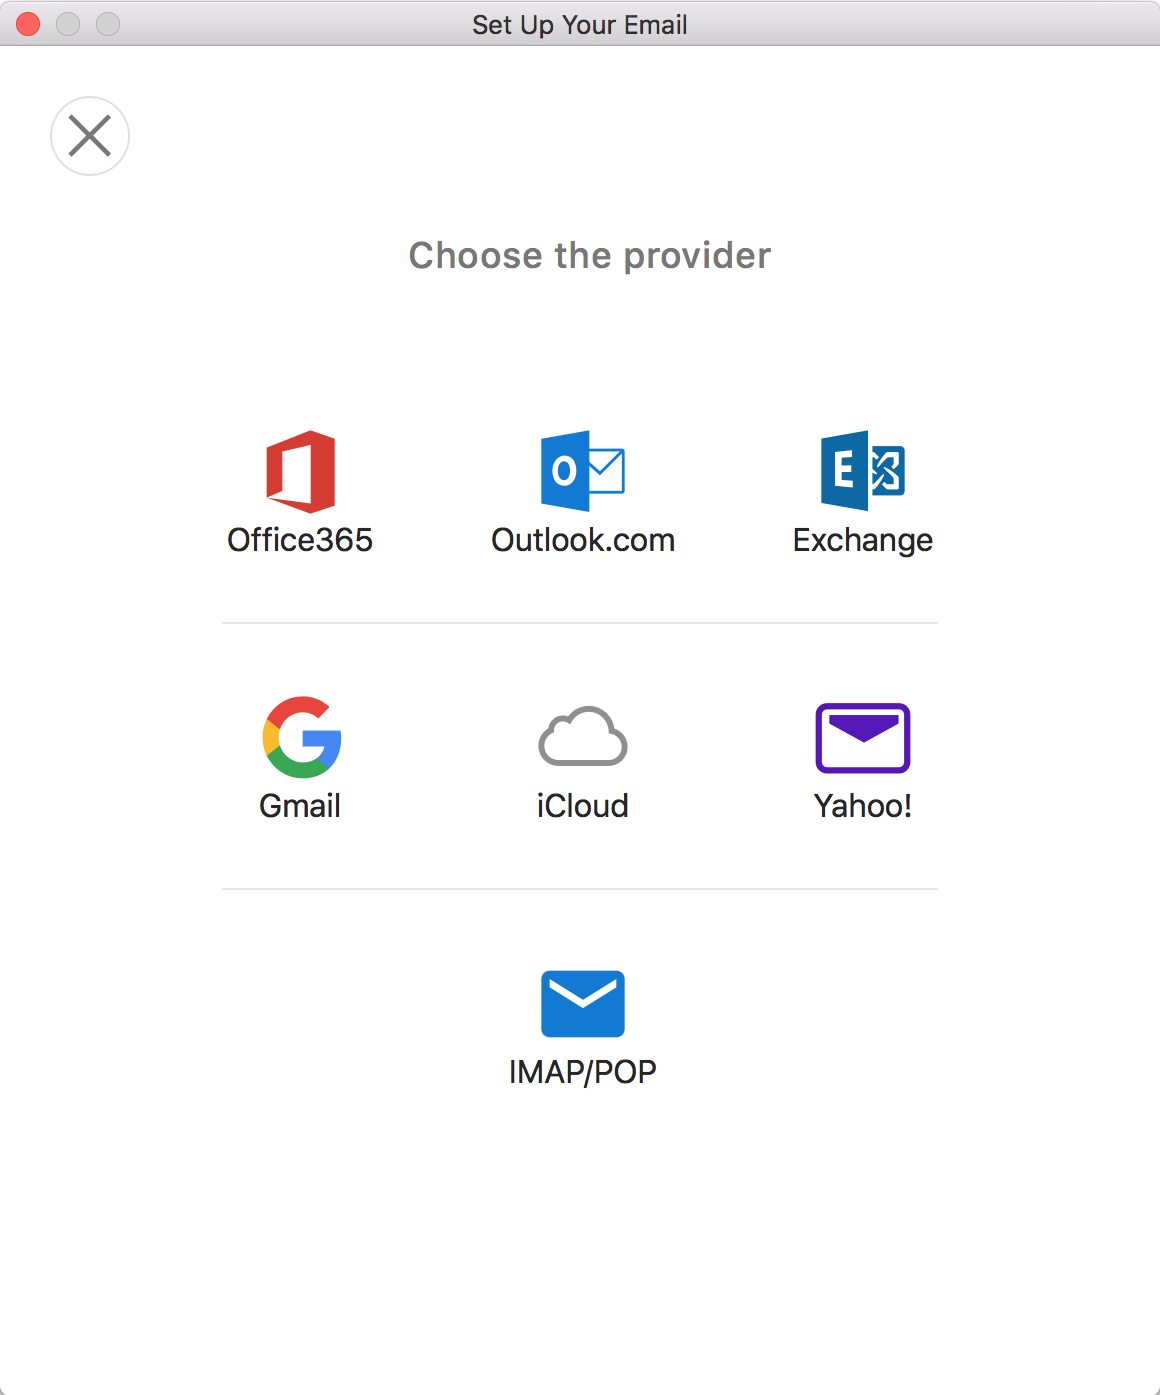
  7. Select IMAP/POP at the bottom

  8. Enter the following details: 

    Type: IMAP 
    Email address: (YOUR EMAIL ADDRESS)
    Username: (YOUR EMAIL ADDRESS)
    Password: Your mailbox password 

    Incoming Server: secure.emailsrvr.com 
    Port: 993 
    Use SSL to connect: Checked 

    Outgoing Server: secure.emailsrvr.com 
    Port: 465 
    Use SSL to connect: Checked 

  9. Click Add Account.
  10. Click Done

  11. You're done! You should see the main Outlook window and your email should begin downloading shortly. Please allow 15 minutes for email to download before troubleshooting.