This article will assist you with setting up Outlook 2016 with your Hosted Mailbox.

- Click on the Start Menu (or press the Windows key) and then search for Control Panel
- After opening Control Panel, in the upper right-hand corner change View by: to Small Icons
- Click on Mail
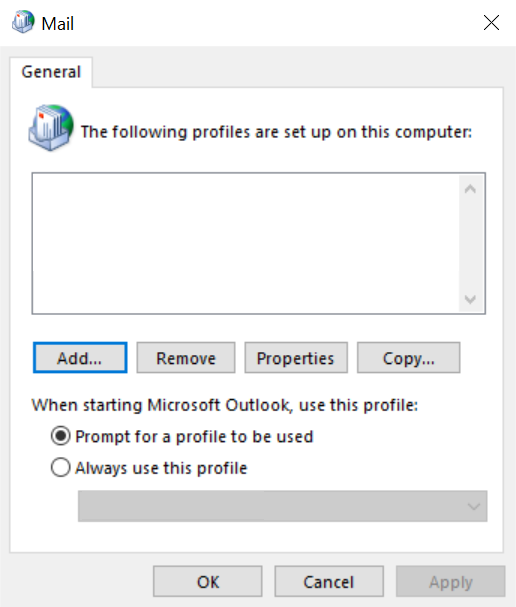
- When the Mail Control Panel opens, select Show Profiles
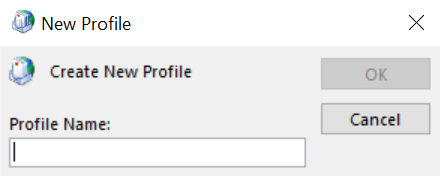
- Select Add to add a new profile. Enter any name you wish and select OK
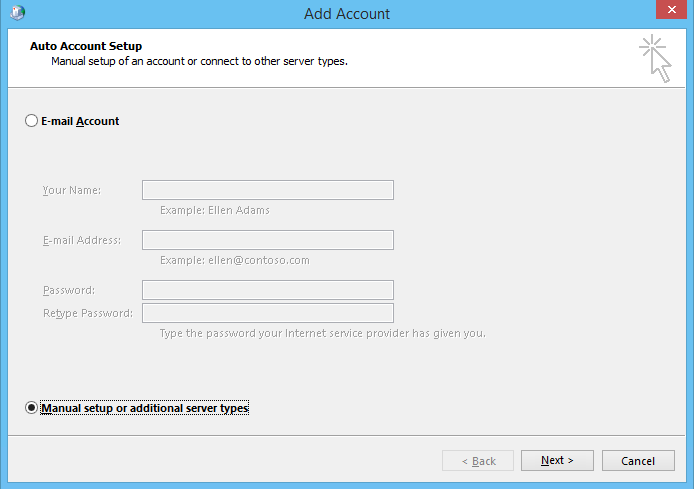
- Select Manual setup or additional server types. Click Next
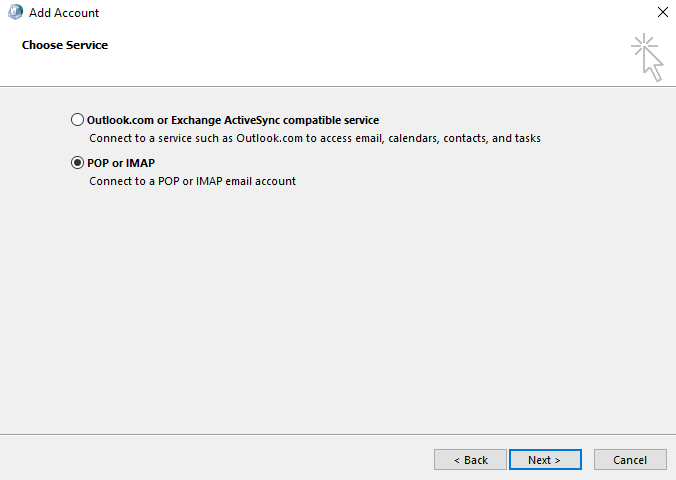
- Select POP or IMAP and click Next
- In the Add New Account window, input the following information:
Your Name: Your Name
Email Address: [email protected]
Account Type: IMAP
Incoming Mail Server: secure.emailsrvr.com
Outgoing Mail Server: secure.emailsrvr.com
User Name: [email protected]
Password: Your mailbox password

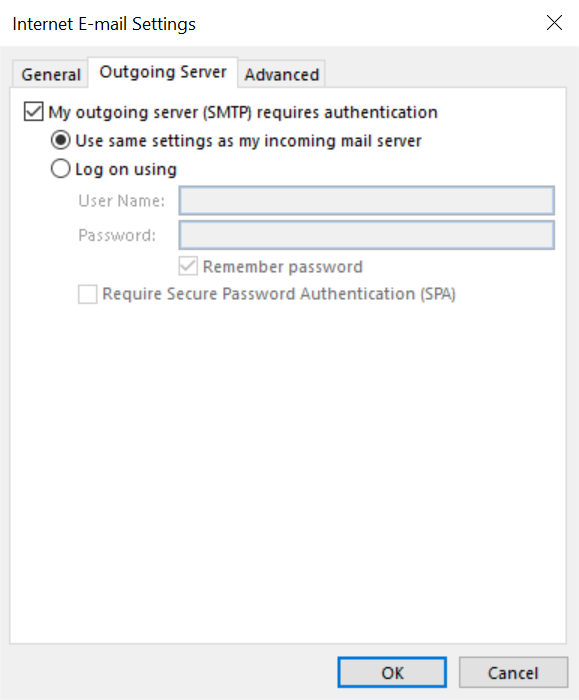
- Click on More Settings then click the Outgoing Server Tab
- Check the box for My outgoing server (SMTP) requires authentication
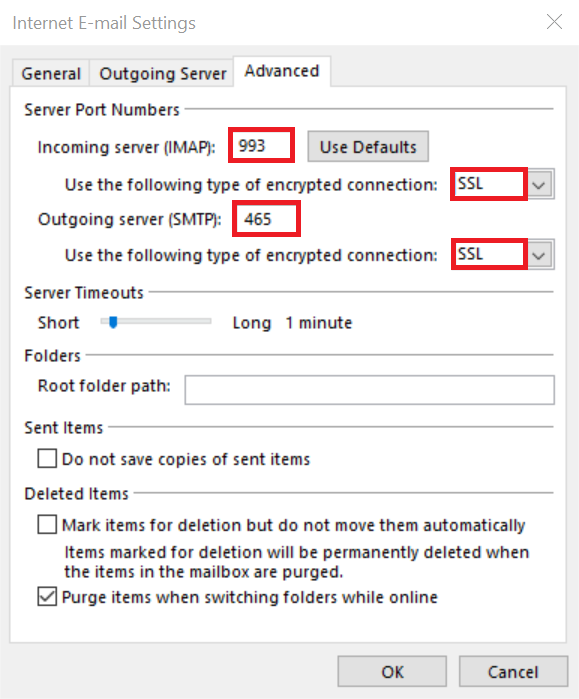
Check the button for Use same settings as my incoming mail server - FIRST, change Use the following type of encrypted connection to SSL for both the Incoming and Outgoing servers.
Next, change the port numbers to match the image below. - Click OK
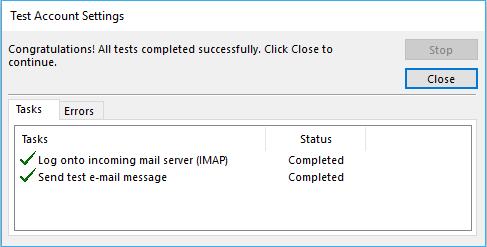
- Click Next. Outlook will now attempt to send a test message using the settings we have just put in. If everything was entered correctly, the message will send out successfully.
- Congratulations! You have now setup Outlook to work with your Mailbox. Please wait 15 minutes before troubleshooting to allow for mail to download.